4.11. Notiz
Main menu → Create → Notes
Notizen sind Textstücke, die Sie von einer Portfolio-Ansicht auch in anderen wiederbenutzen können, ohne die ganze Ansicht kopieren zu müssen.
4.11.1. Notizen anzeigen
Sie können keine Notizen direkt von dieser Seite machen. Sie können bestehende Notizen bearbeiten. Der Inhalt wird überall dort wo er im Einsatz ist geändert werden.
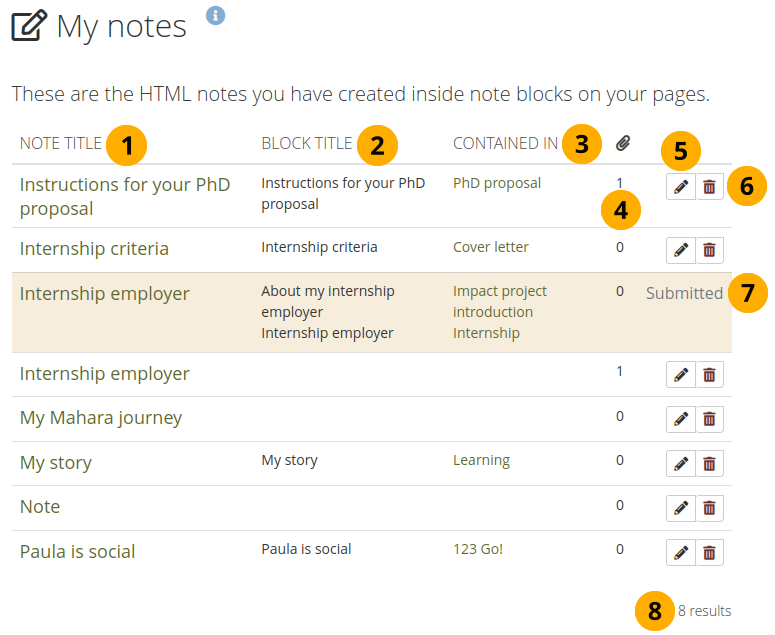
Notes viewed on the notes overview page
Note title: This column contains the titles of the notes where they appear for the first time. When you click the title, you see the content of the note.
Block title: This column shows the title of the note blocks so that you can find the requisite note, esp. when you changed the title considerably.
Die Beinhaltet in-Kolumne listet alle Ansichten auf, in denen diese Notiz verwendet wurde. Diese entspricht der Betitelt-Spalte.
Anhänge : Diese Spalte zeigt die Anzahl an Anhängen pro Notiz an.
Klicken Sie auf den Bearbeiten-Button , um Änderungen an der Notiz vorzunehmen. Denken Sie daran, dass alle Änderungen sich unmittelbar überall auswirken, wo die Notiz verwandt wird.
Klicken Sie auf den Löschen-Button , um die Notiz dauerhaft zu löschen. Das Löschen kann nicht rückgängig gemacht werden und löscht die Notizen an allen Orten, an denen Sie eingesetzt wird.
Wenn Sie eine Portfolio-Ansicht eingereicht haben, die Notizen enthält, können Sie diese Notiz nicht ändern oder löschen bis dieser Vorgang abgeschlossen ist.
You see the number of notes you have in total.
4.11.2. Ihre Notizen bearbeiten
Sie können Ihre Notizen bearbeiten und Änderungen vornehmen.
Warnung
Wenn Sie Änderungen an einer Notiz an dieser Stelle vornehmen, werden alle Instanzen der Notiz in jeder Portfolioansicht davon betroffen sein.
Notiz bearbeiten
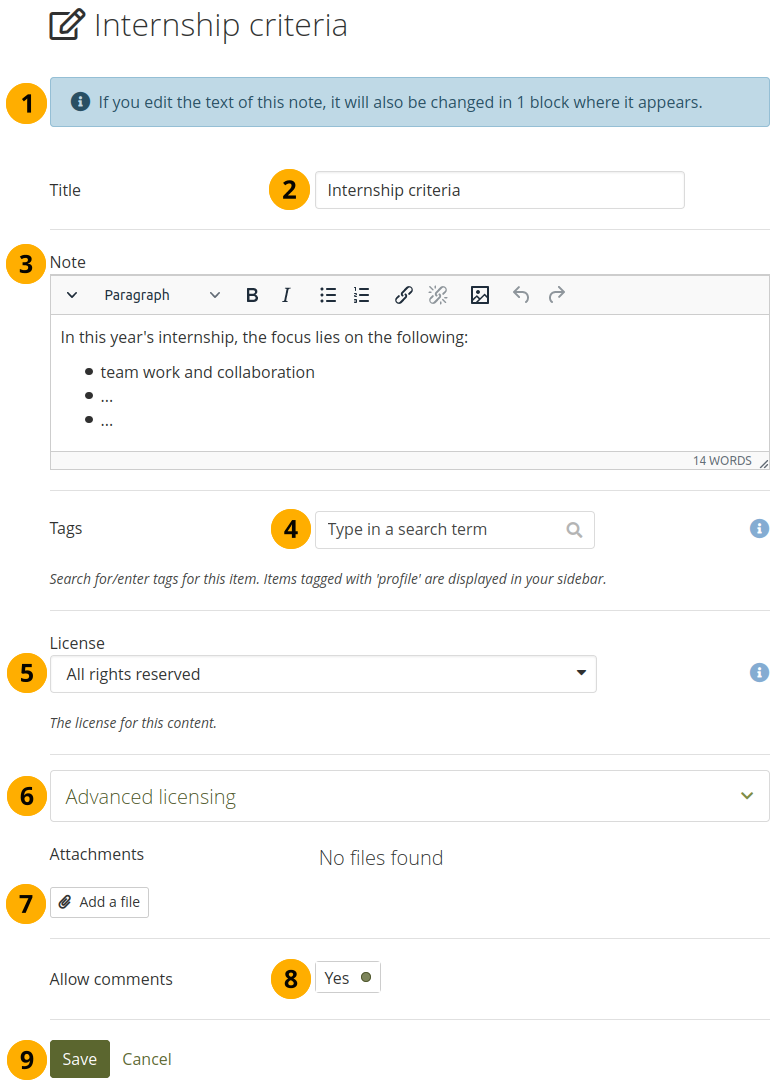
An alert appears at the top of the page if you opened a note that is contained in more than one page. If you edit this note, it will be changed in all locations where this note appears.
Bemerkung
If you do not wish the note to be changed everywhere it appears, go to the page where the note should stay as it is, go into the block configuration and click the ‚Make a copy‘ link above the text editor.
Titel: Der Titel einer bestehenden Notiz wird angezeigt.
Notiz: Der Inhalt einer Notiz wird angezeigt. Wenn Sie hier Änderungen vornehmen, werden sie überall übernommen wo die Notiz erscheint.
Tags: Enter tags to find your notes more easily at a later stage. You can choose from your existing tags by starting to type a letter and then selecting the tag you want to use. You can also type a new tag, and it is added to your list of tags.
Siehe auch
You can find more information on how to use the tag selector in the ‚Tags‘ section.
License: You see this field if the site administrator turned on license metadata. Choose the license for this note. You can set your default license in your account settings.
Advanced licensing: You see this option if the site administrator turned on license metadata. If you click it, you see two additional license fields, ‚Licensor‘ and ‚Original URL‘, that you can fill in if this in not your own note or if you had published it elsewhere before.
Anhänge: Hängen Sie einer Notiz zusätzlich Dateien zum Text an, welchen Sie schreiben.
Siehe auch
Wenn Sie Ihre Notiz bearbeiten, können Sie Dateien anhängen oder Dateien entfernen, wie Sie es auf im Datei(en) zum Herunterladen-Block tun würden.
Allow comments: Set the switch to ‚Yes‘ if you want to allow others to leave comments on your note.
Klicken Sie auf den Speichern-Button, um die Änderungen zu speichern oder auf Abbrechen.