13.1. Setup of LTI 1.1 in Mahara
In order to use LTI, complete the setup in Mahara as well as in the LMS that you want to connect.
Mahara supports LTI 1.1 and experimentally LTI (1.3) Advantage.
13.1.1. Enable LTI 1.1
Administration menu → Extensions → Plugin administration → lti
Ensure that LTI 1.1 is enabled for your Mahara site. You do that by activating the plugin ‘lti’ in the Plugin administration.
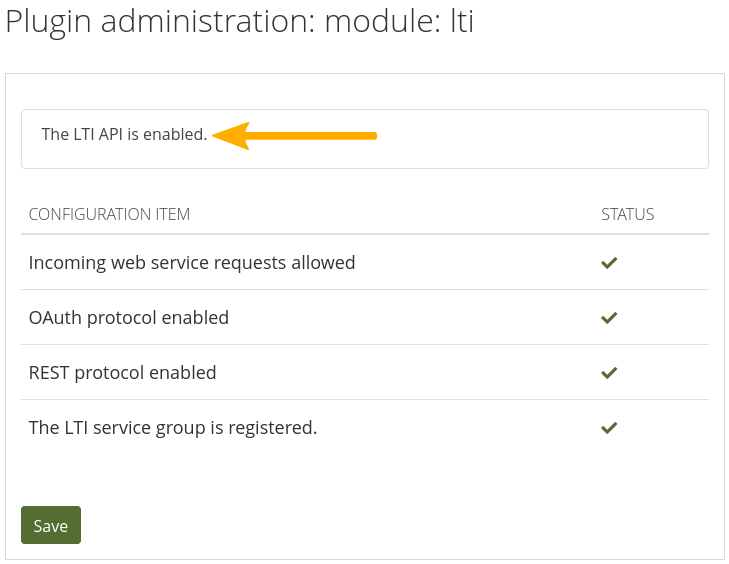
The LTI plugin is enabled
The LTI plugin is enabled when there are no warning signs on the plugin page and the text at the top reads ‘The LTI API is enabled’.
Note
It is best to enable LTI using this method rather than enabling individual web services manually to ensure that all dependencies are set up correctly.
13.1.2. Enable LTI 1.1 for an institution
You can enable LTI for an institution as site administrator. Institution administrators cannot set up LTI for their own institution.
Enable LTI 1.1 for an institution
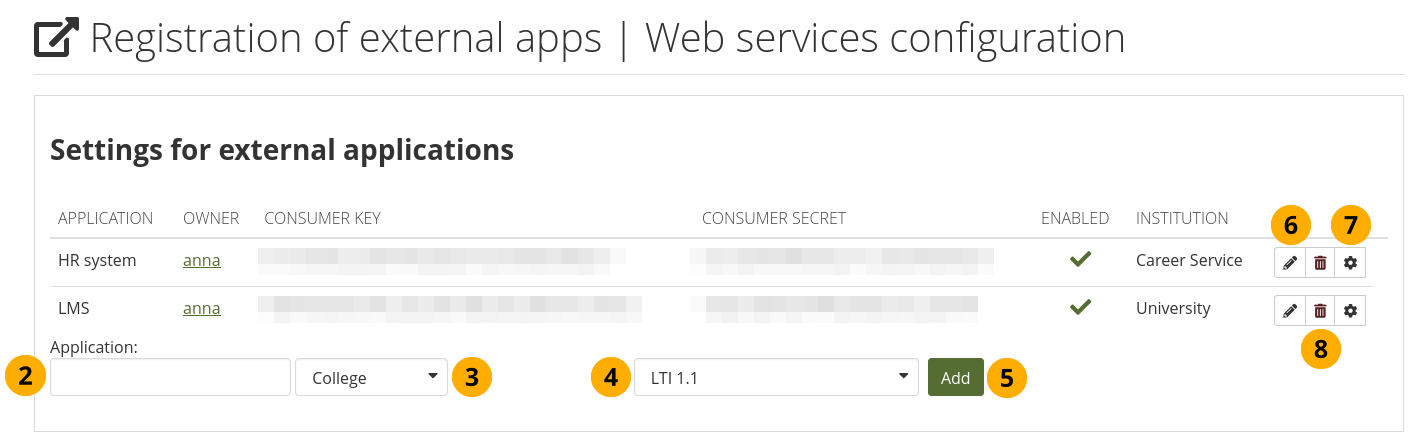
Go to Administration menu → Web services → External apps.
Application: Give your application that you want to connect a name. This is an identifier that only you need to understand.
Choose the institution in which you want to set up the application.
Select ‘LTI 1.1’ from the drop-down menu.
Click the Add button to generate the consumer key and secret.
Note
If your institution does not already have the ‘Web services’ authentication method, it will be added automatically.
Click the Edit button to make changes to the web services configuration.
Click the Manage button to make changes to the authentication part of this app.
Click the Delete button to remove this app.
See also
You can connect a second authentication method to LTI to allow account holders to log in via Mahara and via the LMS.
13.1.3. Confirm LTI 1.1 assessment settings
Before any learners can use the activity that you set up in the LMS, you need to confirm the activity settings as a teacher.
Set the submission criteria
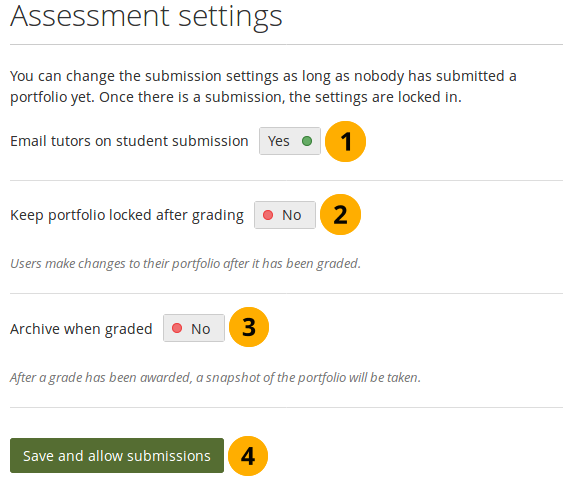
Email tutors on student submission: Set this to ‘Yes’ if course tutors / teachers / assessors shall be informed when a submission has been made.
Keep portfolio locked after grading: Set this to ‘Yes’ if you don’t want learners to make any changes to their portfolio once grading is done. The default setting is ‘No’.
Note
This option will keep the portfolio locked from editing, and learners can’t delete any of the submitted artefacts or make changes to them or delete the portfolio itself from their account. They can still make a copy or change artefacts that are not affected by the locking.
Archive when graded: If you want or need to keep a copy of the graded portfolio to comply with assessment regulations, you can set this option to ‘Yes’. An archive is made automatically after you finished grading and placed on the Mahara server. Administrators can view the archives in the ‘Archived submissions’, and a server administrator can download all archives from a folder within the content file structure of Mahara.
Warning
SmartEvidence collections cannot yet be archived properly as Leap2A.
Click the Save and allow submissions button to confirm the settings and allow your learners to submit their portfolios.
Note
You can change the assignment settings until the first learner submitted their portfolio. After that, they are locked in.
Currently, learners cannot re-submit portfolios to the same activity once you’ve completed grading. They can also not make any changes to the portfolio while it is being assessed.
13.1.4. Submit a portfolio as learner
As a learner, you can submit any of your portfolios to an assignment in your learning management system (LMS).
Note
Any portfolio you submit is locked. Depending on the assignment settings, you may be able to edit the portfolio again after grading.
Submit a portfolio for assessment via your LMS
Click the link to the assignment in your LMS. Mahara opens either in a new tab or embedded as iframe depending on the assignment settings.
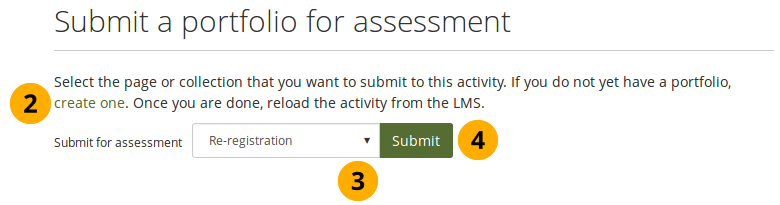
If you don’t already have a portfolio that you can submit for this particular assignment, click the create one link. You are taken to Portfolios where you can create a new portfolio. Once you are finished, click the assignment link in your LMS again to be taken to the correct submission screen.
If you do have a portfolio to submit, select it from the drop-down menu. You can select an entire collection or a page when it is not part of a collection.
Click the Submit button to confirm your choice.
Note
By clicking the Submit button, your portfolio is locked from editing.
You receive a confirmation on screen that lets you know when you submitted the portfolio.
Note
If you want to or are asked by your assessor to make changes to your submitted portfolio, you can revoke the submission, make the changes, and then submit it again to the same activity.
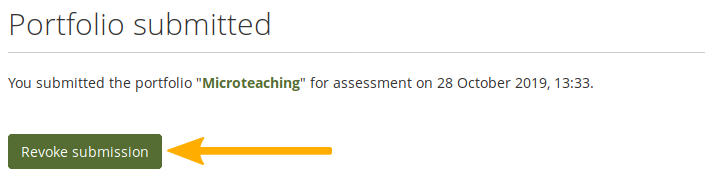
This is only possible when the assessor has not yet graded your portfolio.
Once your portfolio has been assessed and a grade given, you can see the result in Mahara after having clicked on the assignment link in the LMS.
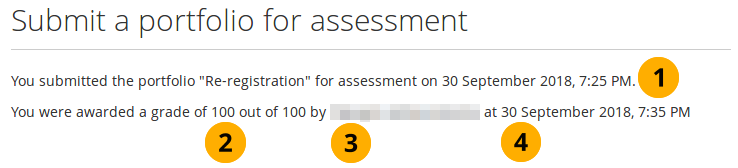
View grade in Mahara
Review when you submitted your portfolio.
View the number of points you received on your portfolio.
View who assessed your portfolio.
Shows the time when the portfolio was assessed.
13.1.5. Assess a portfolio as teacher
Once learners have submitted portfolios for assessment, as a teacher, you can click the link to the assignment in the LMS and be taken to Mahara, where you see all the submitted portfolios.
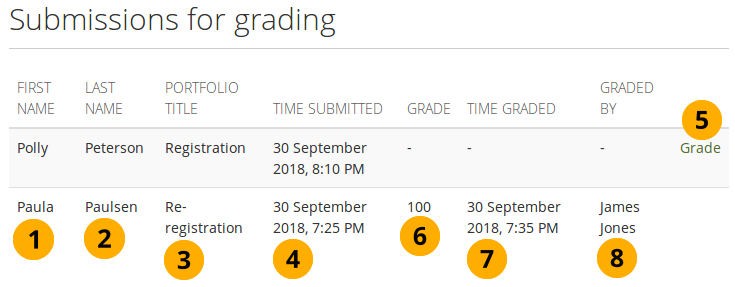
View portfolios that require assessment
First name: The first name of the portfolio author.
Last name: The last name of the portfolio author.
Portfolio title: Title of the submitted portfolio.
Time submitted: Time when the author submitted their portfolio.
Click the Grade link to be taken to the portfolio itself and give it a grade.
Grade: Grade given for this portfolio out of 100 points.
Time graded: Time when the grade was submitted.
Graded by: Teacher who graded the portfolio.
When you click the Grade link, you are taken to the portfolio and can review it. As usual, you can leave comments on the content where available and on a page itself. Once you are ready to give the grade, you can select it above the comments section.
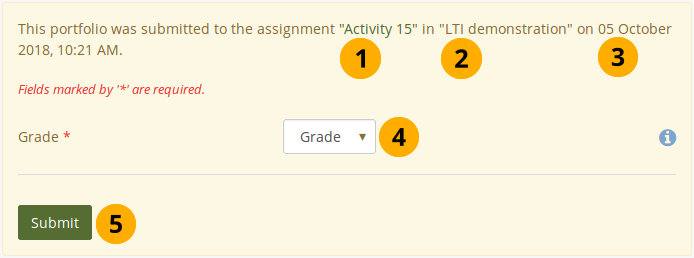
Grade a portfolio
The name of the assignment is displayed.
The course title from the LMS is listed.
The time when the learner submitted the portfolio is shown.
Grade: Select a grade between 0 and 100 points from the drop-down menu.
Note
If the learner should make changes before you can give a final grade, do not enter a grade here but give the learner feedback, e.g. private feedback on a page, and let them know what to change. They can then revoke their submission, make the changes, and resubmit their portfolio to the same assignment.
Click the Submit button to lock the grade in. You cannot revoke your decision.
The grade is also entered into the gradebook in the LMS.