13.4. Setup in OLAT / OpenOLAT
The learning management system OLAT / OpenOLAT supports LTI and can be connected to Mahara.
All screenshots were made with the demo version of OLAT provided by Universität Zürich in October 2019.
13.4.1. Set up an LTI course element
It is assumed that a course already exists in which an LTI course element can be added and that you have the necessary access to add course elements.
Set up a new course element
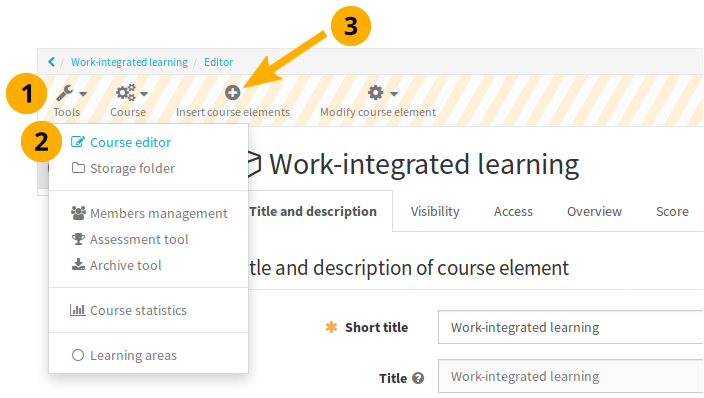
Click Tools and then in the drop-down menu
Click Course editor. A couple of extra elements become visible.
Click Insert course elements.
In the resulting pop-up window, select the option LTI page.
Give your LTI page a short title and a title and save your changes.
Configure LTI
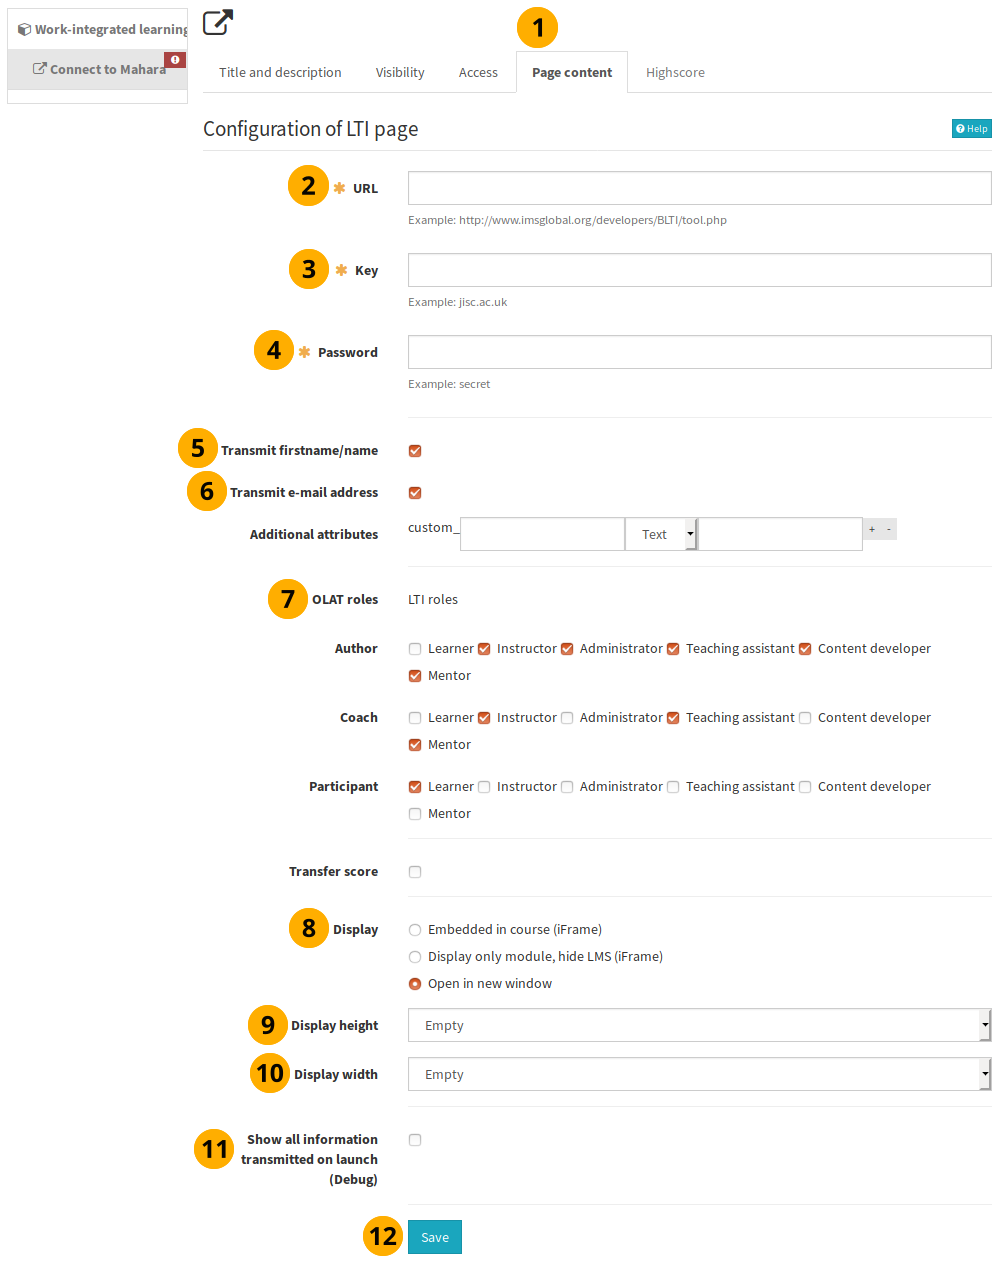
Go to the Page content tab.
URL: Provide the launch URL. It consists of the base URL of your Mahara site and the following added to the end of it:
/webservice/rest/server.php?wsfunction=module_lti_launchKey: Paste the consumer key from Mahara for the LTI connection that you set up earlier.
Password: Paste the consumer secret from Mahara for the LTI connection that you set up earlier.
Transmit firstname/name: Select this option to transfer the first name and last name of a person to Mahara.
Transmit e-mail address: Select this option to transfer a person’s email address to Mahara.
OLAT roles: Decide which groups of people shall have what roles in this course element. Typically, you can leave the default settings as they are.
Display: Select the option Open in new window.
Display height: Select the value Empty.
Display width: Select the value Empty.
Show all information transmitted on launch (Debug): Select this option if there is a problem with the connection and you need to troubleshoot it. This is only needed for testing and investigation purposes, however should not be selected during normal operations.
Click the Save button to confirm your changes.
Publish the LTI course element
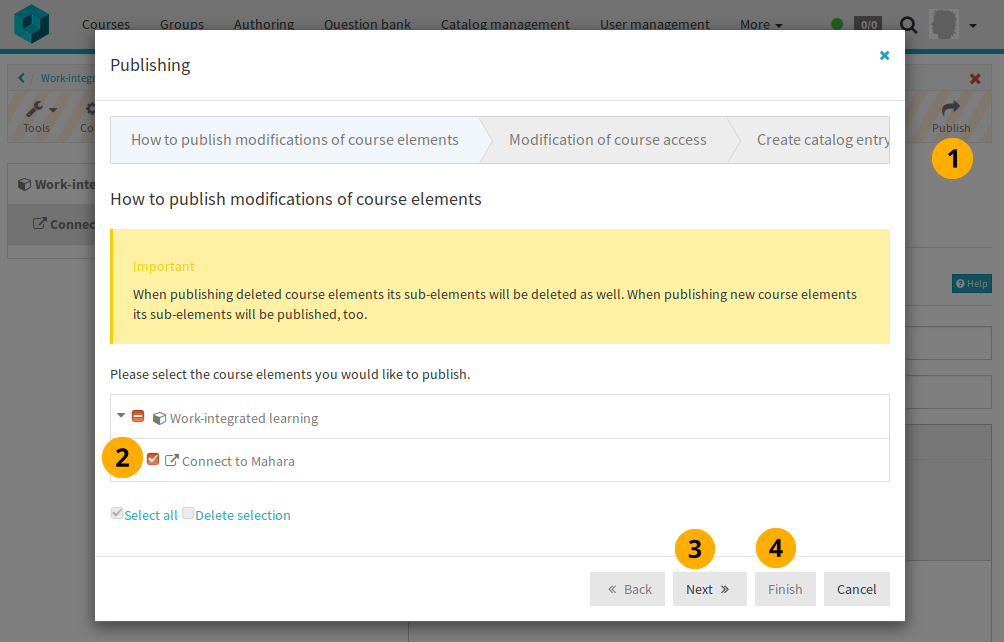
Click the Publish icon at the top of the screen to make this LTI course element available. A pop-up window opens.
Make sure that your LTI course element is selected. Read the information on the OLAT screens.
When you are ready to proceed, click the Next button. You may have to go through a few more screens by clicking the Next button on each screen and make decisions where necessary depending on how much you have changed in your course.
Click the Finish button to complete the publishing process.
If you need to make changes to this course element, you can do so and then click the red Close icon towards the top right and have changes saved automatically.
13.4.2. Use the LTI course element

Transfer of data via LTI
When you open the LTI course element for the first time, you are presented with the information that is going to be shared with Mahara.
Click the button I accept the data transfer to continue to Mahara. If you do not accept, please speak with your teacher / tutor / lecturer / instructor.
On the next page, click the button Start LTI learning module to be taken to Mahara.