3.6. Plans
Content → Plans
Plans are simple ToDo lists. They are particularly well-suited to plan medium and long-term endeavours. A plan can consist of a number of individual activities with which completion dates are associated.
3.6.1. Create a new plan
Create a new plan
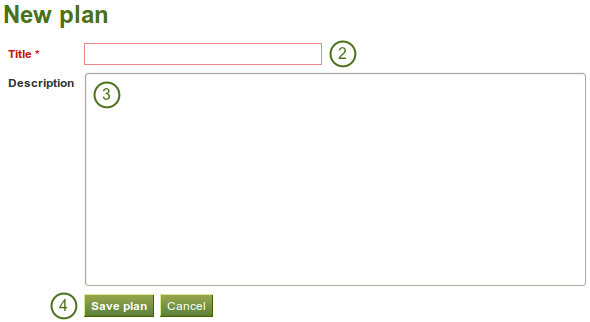
- Click the Create new plan button.
- Title: Give your plan a title. This field is mandatory.
- Description: Give your plan a description. It is visible when you select a plan for inclusion into a portfolio page.
- Click the Save plan button to keep your new plan.
Now you can add individual tasks to your plan.
3.6.2. Add tasks to a plan
There are several ways to add a task to a plan:
- Click on Add task right after you saved your plan.
- Click on Content → Plans → the title of the plan → New task.
- Click on Content → Plans → the Manage tasks button
 → New task.
Once you are in the New task screen, you can create your new task.
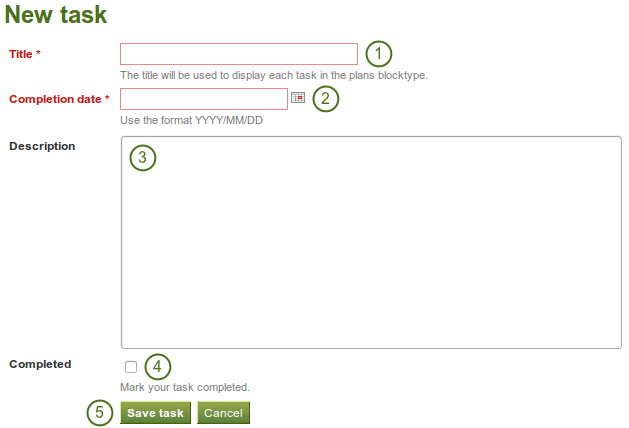
Add a new task to a plan
- Title: Enter a title for your task. This field is mandatory.
- Completion date: Provide a completion date. Either choose the date via the calendar icon
 or enter it in the format YYYY/MM/DD (Year - 4 digits / Month - 2 digits / Date - 2 digits), e.g. 2012/06/27. This field is mandatory and allows for tasks to be marked overdue automatically.
 - Description: Provide more detailed information about the task.
- Completed: Tick this check box if you have already completed the task.
- Click the Save task button to finish editing your task.
- Add more tasks immediately or at a later point.
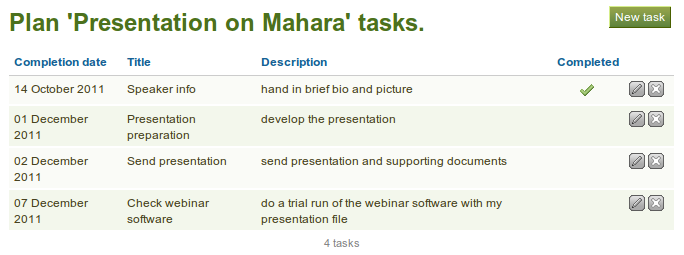
Plans under Content
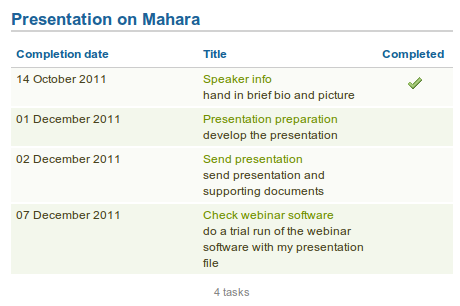
That’s what a plan looks like in a portfolio page. Clicking on the title of the task shows / hides the task description.
3.6.3. Edit tasks in a plan
- Click on Content → Plans → the Manage tasks button or the title of the plan.
- Click the Edit button
 next to a task that you want to change.
 - Make your changes or mark a task as completed.
- Click the Save task button and your changes are recorded.